Showing posts with label landscaping. Show all posts

Paving tiles 101

I've had so many comments on the tiles, I thought you would like to know how I made them.  The tiles themselves are made from DAS air dry clay.  This package was a terra cotta colored clay.  I purchased the package at a Michaels Arts and Crafts store.


I made a jig from a vinyl tile that I glued 1/8" high wood strips around the edge.  This was a technique I got from all the people who posted instructions on using Paper Clay.  I think it's a technique that Rik Pierce uses to make the walls for his miniature houses.


I tried using a pasta maker to flatten out the clay, but it was too inconsistent.  Using the jig I made and running a roller over the clay, the wood strips kept the clay at a consistent 1/8" thickness.  The I used a clear plastic quilters ruler to cut out 1" square tiles. 


I cut some of the tiles in a diagonal shape for the edge of my walkway also.


I laid them out on my walkway to see if I had enough.  I turned them over once the top was dried to allow the bottoms to dry.  You can see in the picture how they started to dry a lot lighter.  I still felt they were too bright, so I aged the tiles with a mixture of diluted white paint, and some raw umber diluted.  I just painted a few spots on, and immediately wiped it off to get an inconsistent look.


This was the finished results BEFORE I tried to add the sand and grass.  That's when all my problems started.  I am working on the PVA glue that was recommended now, hopefully I will have more positive finished results afterwards. 

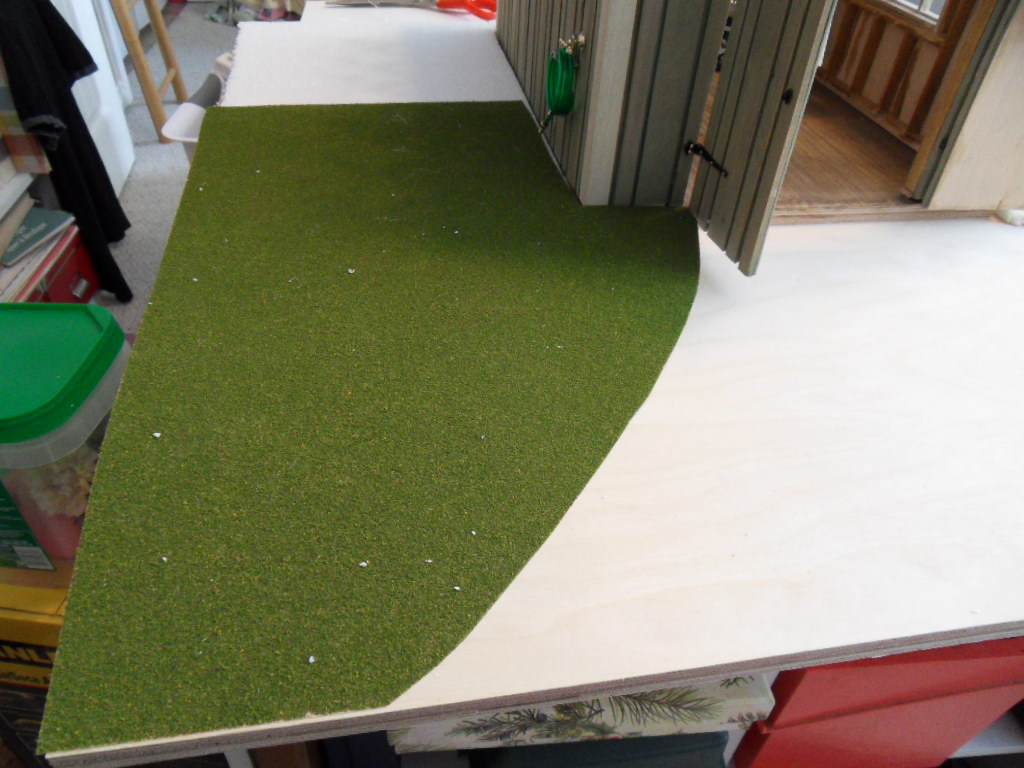
For now, I am still at this stage...


So wish me luck with today's endeavors.  In the meanwhile, I've been busy making lots of flowers for the garden.  It's very tedious work but the finished results are looking great.  These pictures are for another posting.

Hope the clay tile tutorial helps those trying to make their own paving tiles!

Until the next time..........

Wanda

Spring is coming

In many parts of the world Spring may have already arrived, but here in Newfoundland it's just starting to show signs.  Our snow is almost gone, yes I said almost, and it's so inspiring to see the first signs of spring.  I want to landscape my garden shed with spring blooms, so I've started to prepare the foundation for the landscaping.

I've added layers of foam, so that I have a base to add the flowers and plants.


Cutting foam may seem like an easy task, but I wasn't prepared for all the static electricity created from cutting the foam.  Tip for anyone doing this, don't wear a black sweater while doing this, I am still trying to get the small pieces of foam off my sweater, even after putting it through the wash!!


LOL.....oh well.  I did get to learn one more thing from the foam cutting experience.  I got to learn how to turn on my vacuum clearner......okay I'm spoiled, hubby does the vacuuming, it was a fairly new vacuum that I had never used before, but I finally got the mess cleaned up.  It was sticking to everything, including the shed!


I finally managed to operate the vacuum cleaner, and got rid of all the nasty foam bits!


Once I got all the layers glued, I marked out where the flower beds will be, and I might also add some fence sections in the corners as well.


I've been test fitting some of my accessories outside as you can see from the few items attached to the outside of the shed!

Then I had to cut out the grass and glue the foam to the wood base.


I used my miniature books as weights to keep the wood from curving up once I glued the foam in place.  Everything has to multi-task in my craft room!

In the end I was pleased with the overall results of the landscaping layout.  I painted the areas the will be the "flower beds" dark brown, so that the white foam won't peak through the flowers, once they are put in place.


Next time I will show you the work I've done on the roof.  It's really starting to take shape.  Now I have to go and see if I have enough flowers to fill all the flower beds......and the Spring weather is really setting a nice stage for the spring theme of my garden shed landscaping.

I hope you like the work I've been doing.  Thanks for all the kind comments from the last post.  I was concerned that everyone had given up on me!

Till next time...........

Wanda